![]()
Protecting your vehicles or equipment has never been more important, and a GPS tracking system is one of the smartest upgrades you can make. The new Drone XT from Firstech gives owners a simple and effective way to monitor the location of their car, truck or powersports vehicle in real time. Whether you want added security against theft or want to keep tabs on valuable equipment, a professional-grade tracking solution can improve your chances of quickly recovering your property. Let’s take a closer look at the new Drone XT tracking system.
What is the Drone XT?
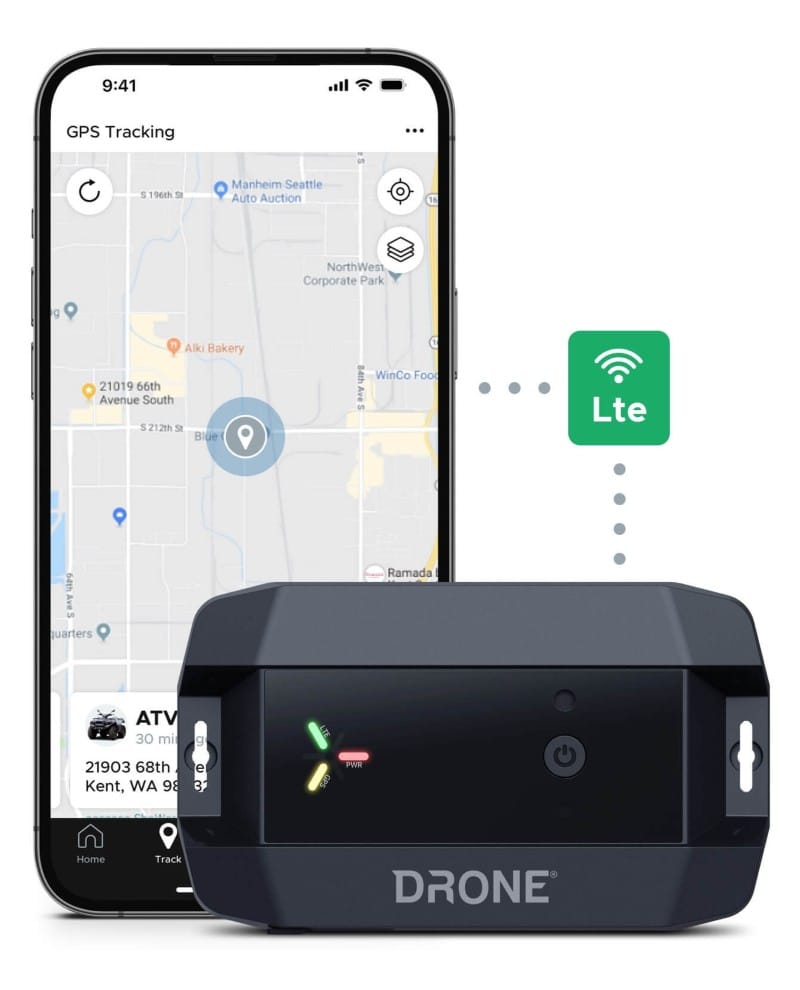
Drone XT is a self-contained GPS tracking solution that features an integrated battery for stand-alone operation. Unlike Bluetooth devices like AirTags, the Drone XT operates completely independently from other devices like a smartphone, so you can always check its location from the app or website.
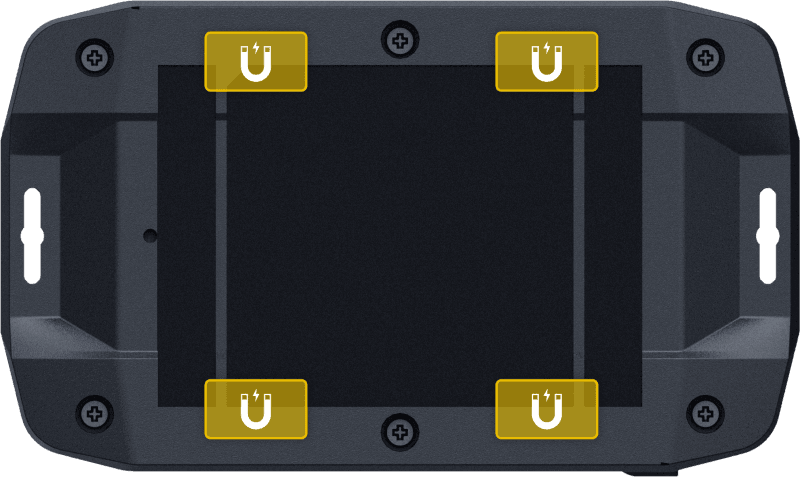
The Drone XT includes a USB-C hardwire power cable that your installer can integrate with the vehicle to power the system and indicate when the ignition is on. There’s also a dual-ended USB-C cable for charging the unit in stand-alone mode. For convenience, four high-strength neodymium magnets are integrated into the base of the unit. If you have heavy equipment to monitor, you can simply attach the Drone XT, and you are good to go.
Full-Time GPS Tracking System
The Drone XT works with the Dronemobile.com website and smartphone app. You can locate your vehicle anytime you want, as long as you have access to the Internet. You don’t need to involve the police or call a phone number. You’ll know the solution is working as soon as you power it up. If you can’t check the location of your GPS tracking system, do you even know if it’s working?
When the unit is moving, the Drone system tracks location with a breadcrumb trail that updates every minute or 30 seconds, depending on the service plan you’ve chosen. Not only can you see where the device is, but where it’s been. This is great as a tracking solution for company-owned service or delivery vehicles.
Low-Power Operation
Firstech engineers have gone to great lengths to maximize the built-in battery’s longevity. The system combines a high-sensitivity GPS receiver with a state-of-the-art LTE Cat M1 cellular radio. Unlike conventional cellular radios, the LTE Cat M1 is designed specifically for low-power IoT devices like the Drone XT.
The Drone XT has power-saving modes to further extend the battery’s life. The unit doesn’t update GPS location or communicate with the DroneMobile server unless it detects motion. The “Wake on Movement” feature has a five-meter buffer, so even shifts in GPS location due to signal strength variations won’t trigger communication. If someone moves the vehicle or piece of equipment, you will be notified immediately.
The 2,200 mAh battery will last up to 3 weeks in Energy-Saving mode and up to 10 months in Deep Sleep mode.
Integrated Environment Monitoring
The Drone XT GPS tracker includes three additional sensors that can be configured to provide alerts to the owner. There’s a temperature sensor that provides notifications for changes by a user-configurable number of degrees. Likewise, a humidity sensor monitors moisture in the air and sends an alert if that changes by a certain percentage. Finally, there’s a light sensor that’ll tell you if someone is snooping around with a flashlight. These alerts show up almost instantly as notifications on your smartphone.
Protection For Unique Applications
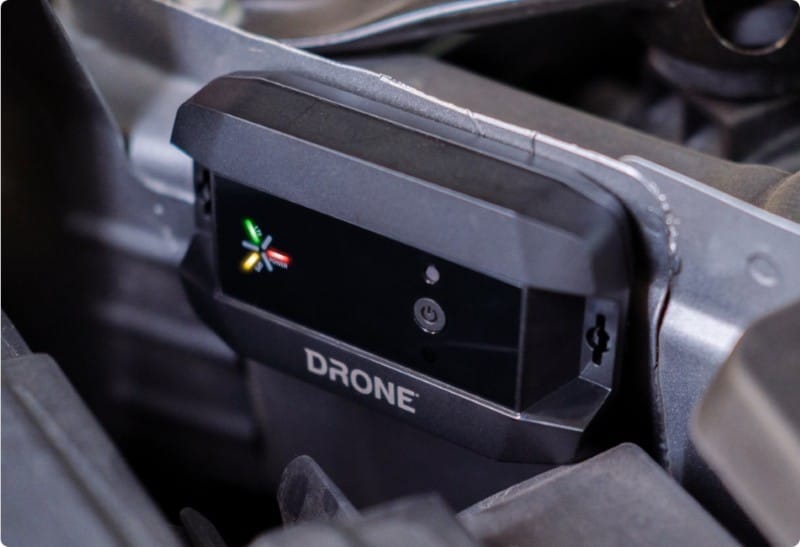
The Drone XT GPS tracker is an affordable, convenient way to monitor your car or truck. However, its applications extend much farther. If you have a side-by-side, ATV or motorcycle you want to monitor, the Drone XT is perfect. Your boat, personal watercraft or trailer is also a great application for the compact tracking solution. Did we mention the unit has an IP67 rating for water and dust intrusion?
If you have a service or delivery vehicle and need to monitor its location, Drone XT is a perfect solution. You’ll know when the ignition turns on or off, where it’s located and what stops it has made throughout the day. If the vehicle is used after hours, you’ll be alerted instantly.
Heavy equipment theft is a major issue. Protect your dozers, graders, excavators, compact track loaders and skid steers with this reliable and affordable solution.
For more information on the Drone XT GPS tracker, or to schedule an installation, contact your local authorized Drone retailer by visiting the dealer locator on the Drone website. Be sure to follow the Drone team on Facebook, Instagram and YouTube to stay up-to-date with new product releases.
This article is written and produced by the team at www.BestCarAudio.com. Reproduction or use of any kind is prohibited without the express written permission of 1sixty8 media.