It’s fall, and for the mobile electronics industry, the focus shifts directly to the sales and installation of remote car starters. The size of the remote start industry is inconceivably vast. Some retailers sell and install more than a thousand of these handy little gadgets in a single season! Best Car Audio wants to help you make the purchasing process easier. Here is our introduction to remote car starter remote control options.
What Does the Remote Do?
The remote control provided with your car starter allows you to start your vehicle without having to go outside or put your key in the ignition. The philosophy is that on a cold winter morning or scorching hot summer day, you can start your vehicle a few minutes before you go outside, giving the heating or cooling system a head start on making the vehicle more comfortable.
Remote controls communicate with your vehicle using radio frequency transmission. There are two different types of communication – Amplitude Modulation (AM) and Frequency Modulation (FM). The methodology of communication alone does not determine the performance of the remote regarding range, and range is a key point in choosing a remote control. Range is the distance between you and your vehicle when the remote starter will execute commands from the remote. If you are out of range and you press the Start button on your remote, nothing happens.
Typical Range Performance
Last year, we tested a few systems that claimed to offer one-mile range. We installed both systems in the same vehicle, one after the other. We parked the vehicle in the same location to test each system. Both systems offered performance that was nearly identical and worked reliably up to about 1,600 feet away – not close to a mile. We contacted some industry peers about the performance of other systems. We saw a test of another brand, rated to provide 1 mile of range and capable of starting the vehicle from as far as 1.25 miles away. As expected, the performance of your system may vary dramatically.
Why didn’t the systems we tested work as advertised? Most manufacturers advertise “maximum range.” This distance would be under ideal conditions: no buildings, no foliage, no radio frequency interference. Imagine being in the middle of a desert and everyone else turned off all their radios, cellphone systems, TV broadcasts, satellite communications and so forth. In this impossible scenario, you’d get about a mile of range.
Why did the other system exceed the manufacturer’s ratings? Maybe this manufacturer under-rated the range. Maybe there was a lack of interference in the area. The purpose of this discussion is to clarify that performance differs based on the system you choose and where you use it.
When you go shopping for remotes, you will see a few options for range. Manufacturers advertise the shortest-range remotes as working as far away as 800 feet. Next up are the 1/4-mile or about 1,300- to 1,500-foot range units. Different companies offer different intermediate range solutions, increasing to 2,500 or 3,000 feet, then to 1 mile. One manufacturer offers a remote that claims to work at up to 3 miles. That is very cool!
Remote Feature Overview
The next consideration in selecting a car remote starter revolves around the number of buttons on the remote. The product specialist at your mobile electronics retailer will advise you about what the remote starter can control for vehicle options. These options include door locks, factory alarm control, trunk/hatch release, sliding door control, rear window defroster activation and more. Once you decide which, if any, of these features will be part of your system, you can decide which remote you need.
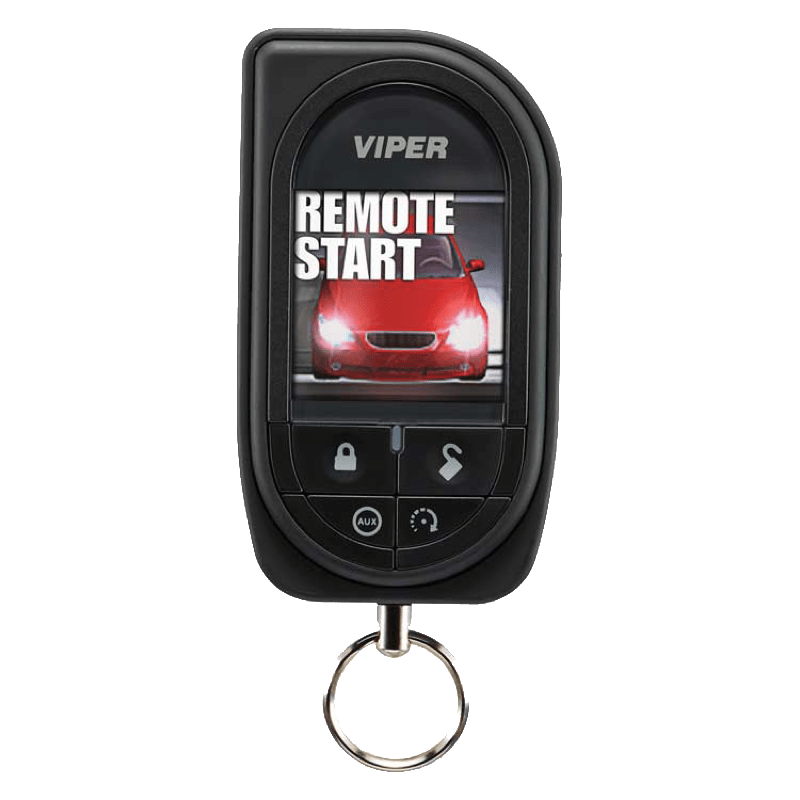
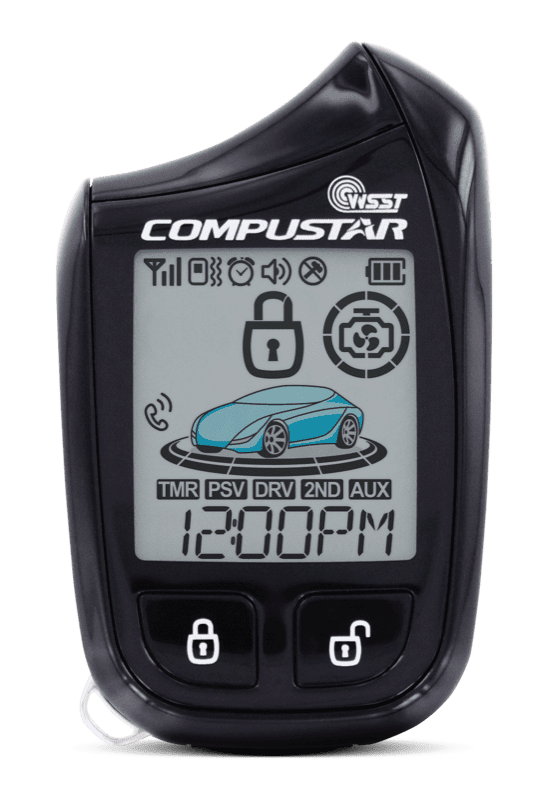
One-button remotes are, of course, the simplest. The single button can be used to lock and unlock the vehicle, as well as activate the remote car starter. Some remotes have four or five buttons. These remotes have dedicated buttons for locking/arming, unlocking/disarming, trunk release and remote starting. Most five-button remotes include a Function key to access additional features like auxiliary outputs and vehicle information display. Multi-button remotes are required when the system includes features like trunk or hatch release. Single-button remotes can’t activate those features.
Communication Options
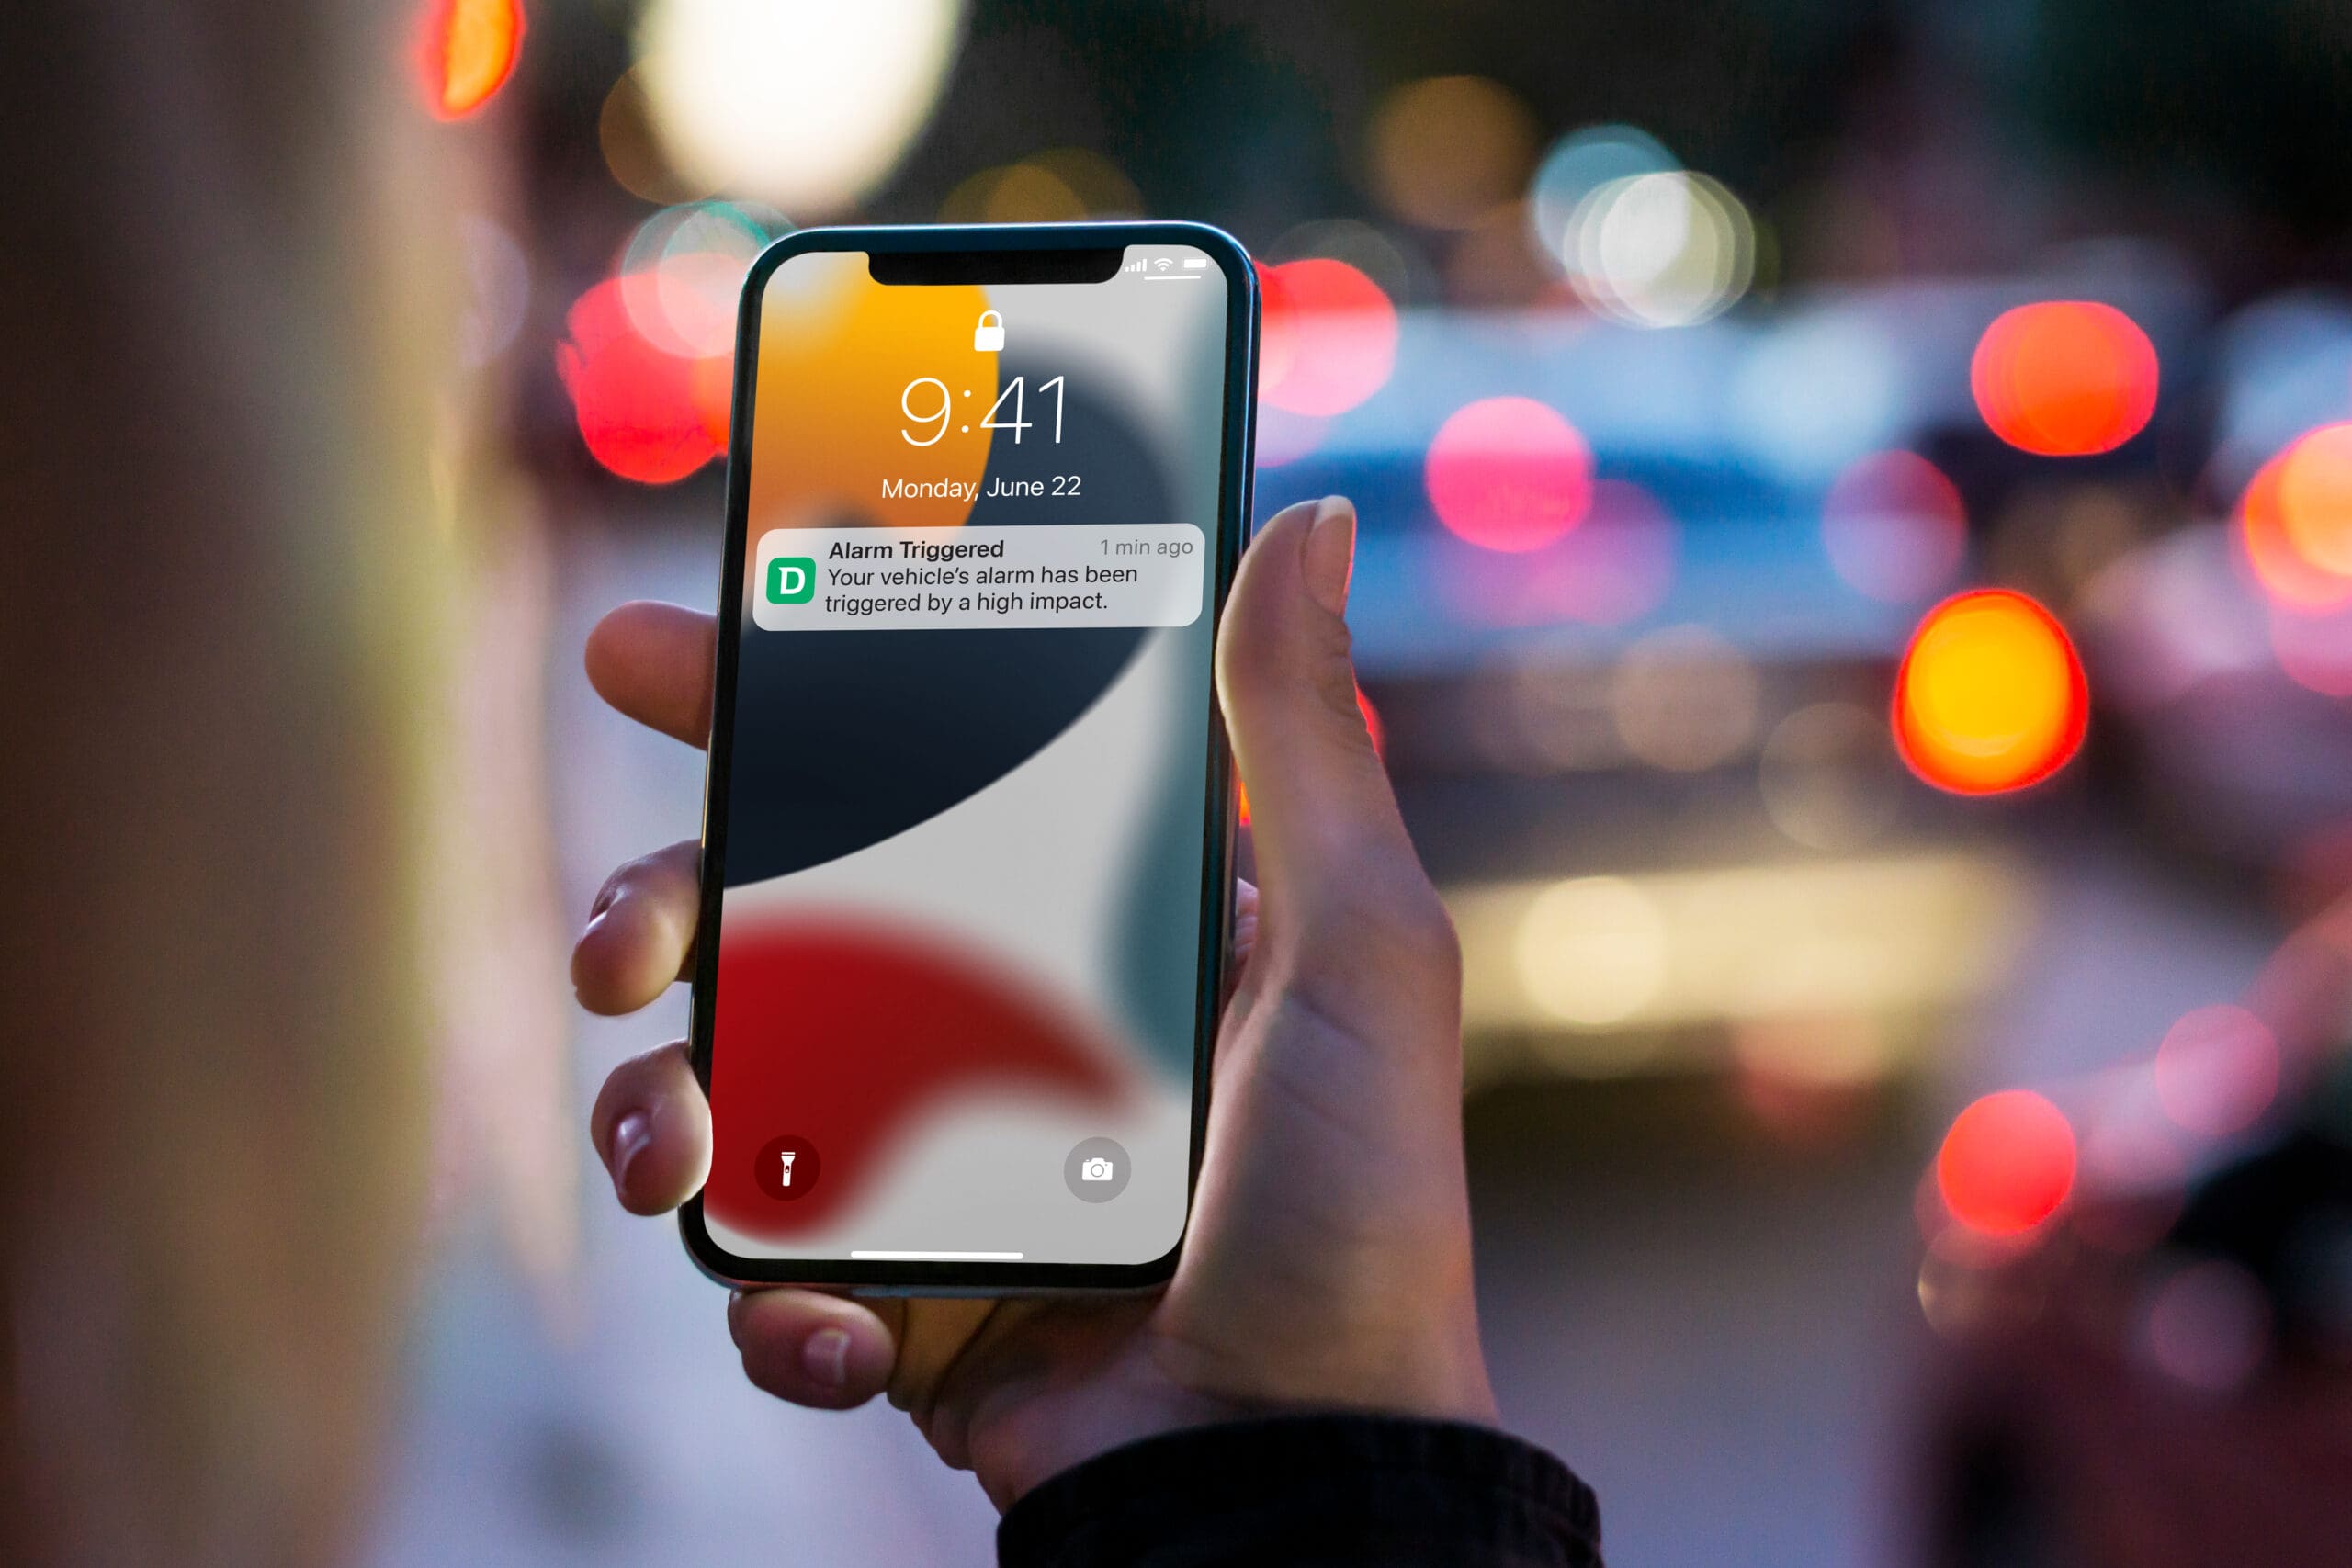
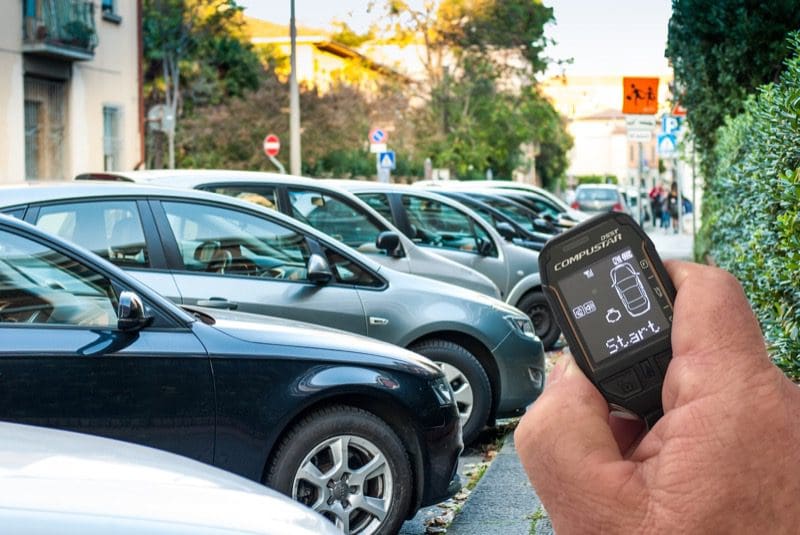
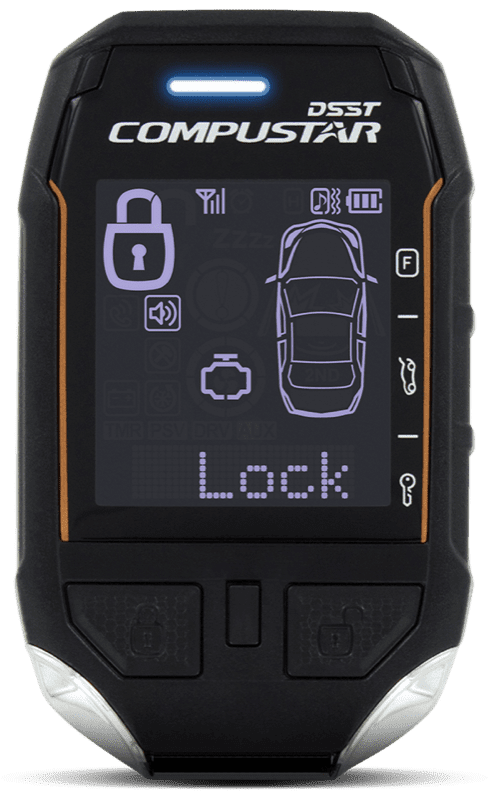
Separate from the range and button configuration of a remote are options for how the remote communicates with the vehicle. A one-way remote is like your TV remote – it only sends commands to the vehicle. You have no way of knowing whether the command was received or executed unless you can physically see the vehicle. A two-way remote can send commands to the vehicle and receive information back from the vehicle. Every two-way remote has some method of letting you know what is happening. This information can be presented via LEDs, on an LCD screen, with beeps and vibrations, or a combination of many of these.
Let’s look at a real-world example of how a two-way remote control can be beneficial. The simplest of functions is locking your car. You press the button on your remote control, and the car should lock. But what if you didn’t lock the car before you went into a shopping mall, office building or home? If you have a one-way remote, you can only hope that pressing the lock button at this longer distance will secure your vehicle. If you have a two-way remote and the vehicle is in range, the vehicle will send a confirmation to the remote to let you know it worked – that it received and executed the command. No guessing is required.
Several manufacturers offer additional vehicle information display on remotes with LCD screens. You can query the vehicle to display battery voltage or vehicle temperature.
Other Communication Options
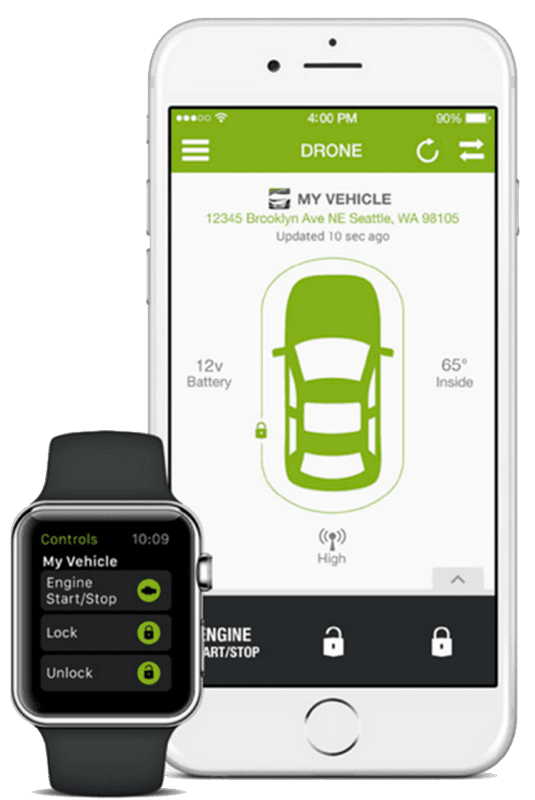
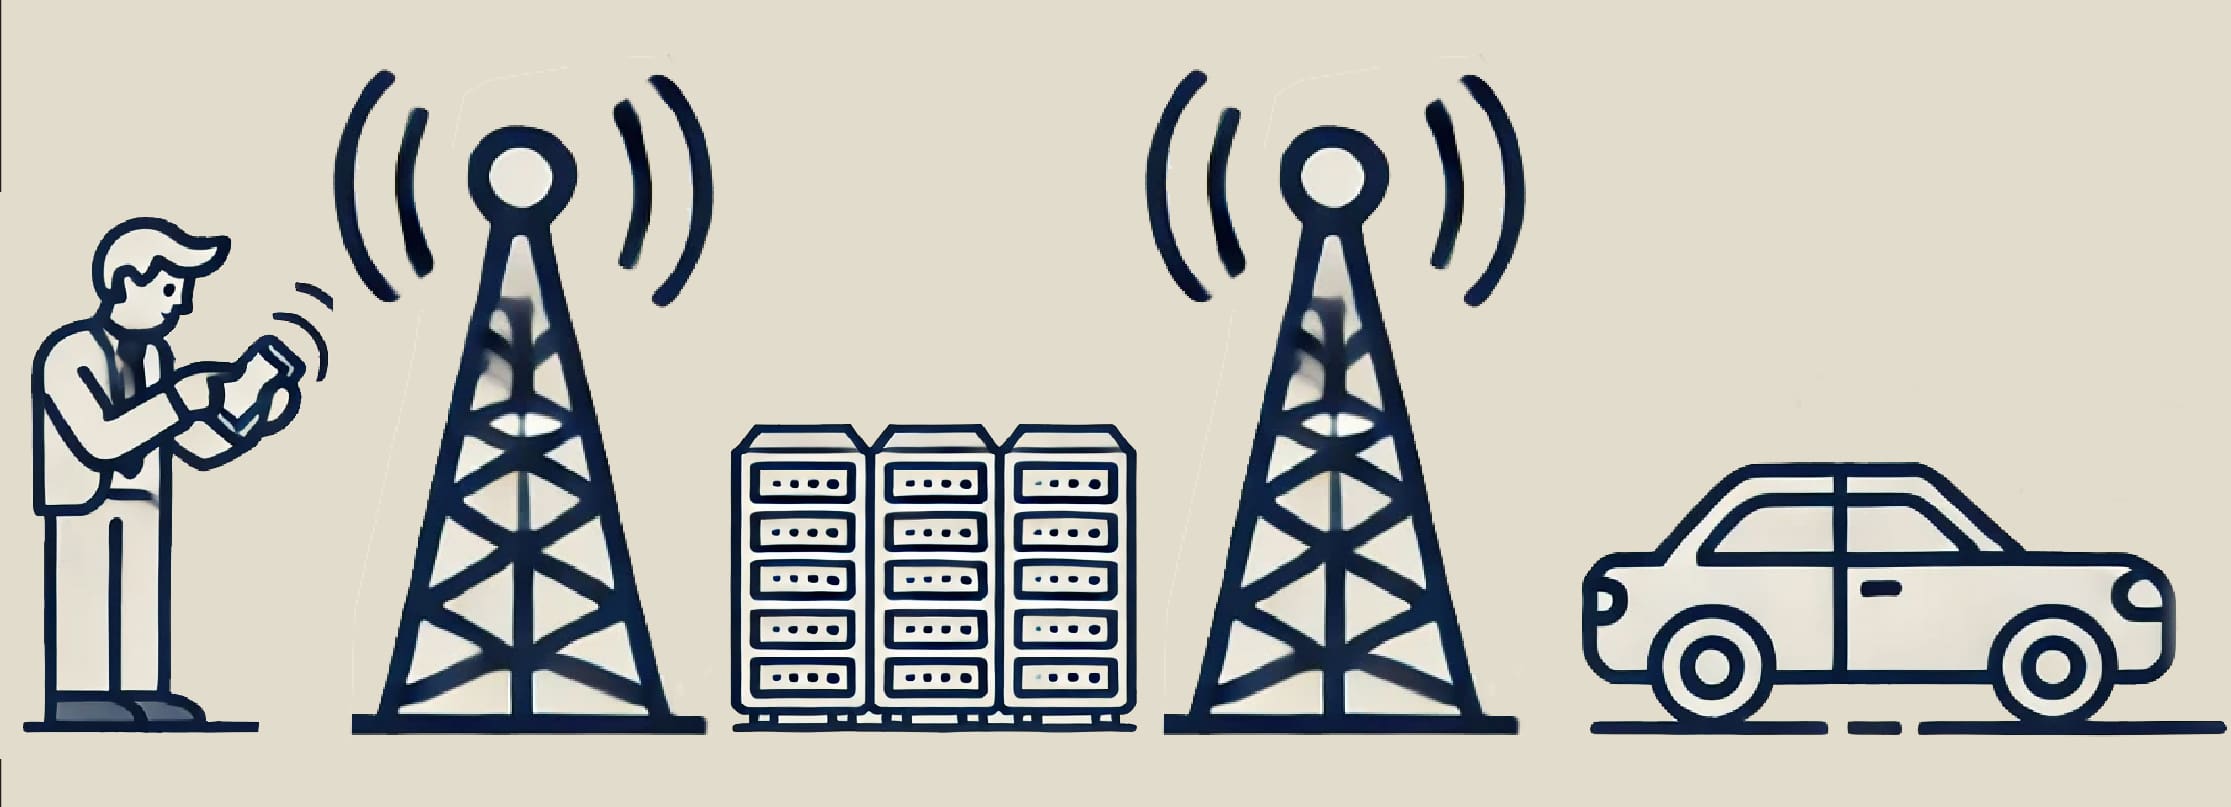
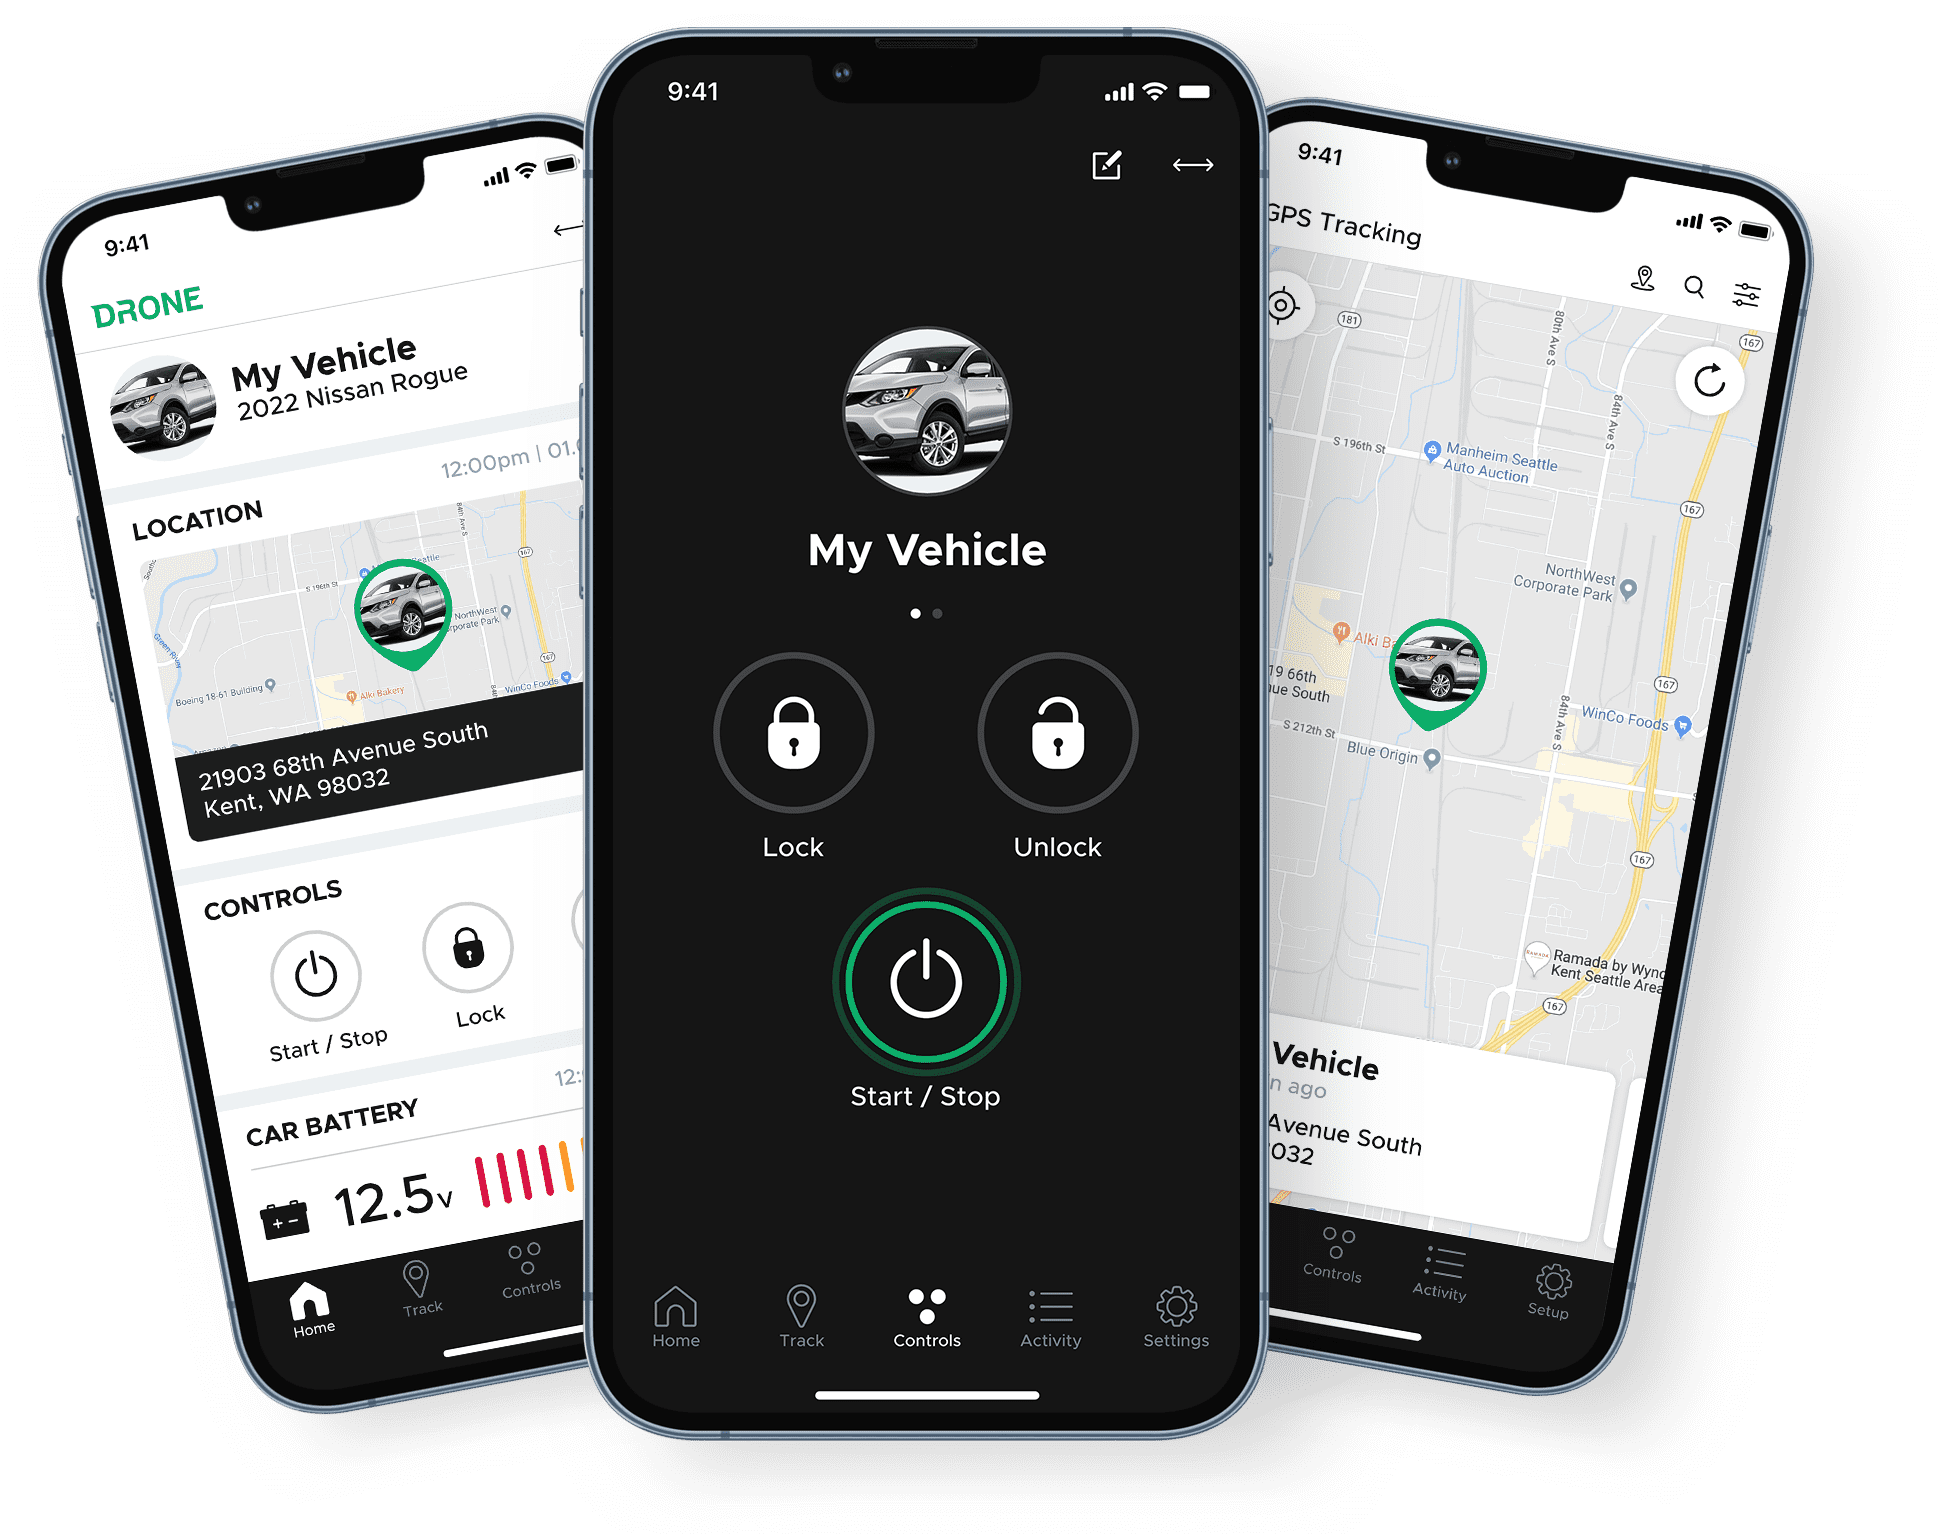
System control options use different technologies. These include Bluetooth interfaces that allow you to control the system from an app on your phone. Smartphone interfaces use the cellular network and an app to let you manage and monitor your vehicle from anywhere in the world – as long as you have a data connection. Proximity keys that unlock the vehicle when you approach it are another option. There are also small keypads that mount to the inside of the windshield so you can type in a code to lock or unlock the vehicle.
Whatever remote control solution you pick for your remote starter, be sure to deal with a reputable retailer to install the system. You want to choose someone who will take their time to perform the installation as reliably as possible. They should be cautious and gentle with your vehicle as they disassemble it to access wiring. They must stand behind the work they do. In many cases, the quality and reliability of the installation are proportional to the price for the system. If the price seems too good to be true, you may want to do some additional research. Online reviews are a great source of information.
Enjoy your remote car starter – it really will make a big difference in the comfort of your vehicle.
This article is written and produced by the team at www.BestCarAudio.com. Reproduction or use of any kind is prohibited without the express written permission of 1sixty8 media.