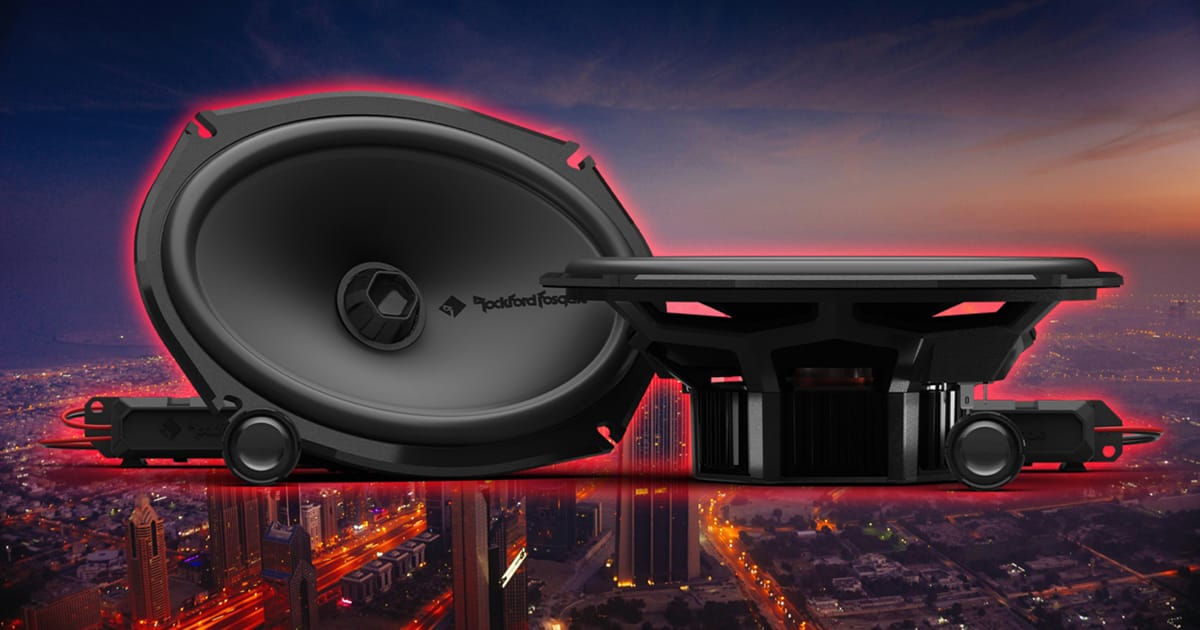
Since the 2025 SEMA show in Las Vegas, Rockford Fosgate fanatics have been talking about the new Punch series speakers. We’ve already taken a look at the P1V2-65 coaxial and P2V2-65 convertible component set. In this spotlight, we are going to check out the High Output convertible 6×9-inch P2V2-69HO set.
Features of the Rockford Fosgate P2V2-69HO
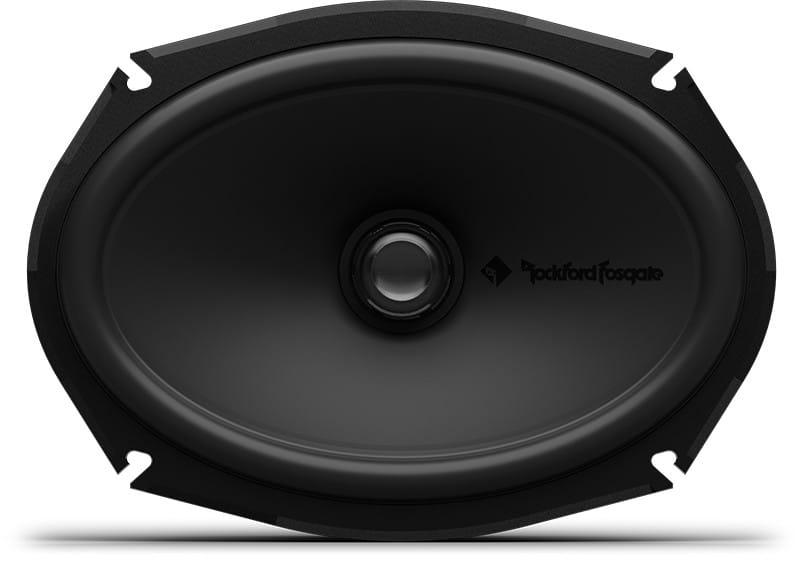
Let’s back up a second and discuss the new Punch Series of speakers. Whereas before now there were three driver performance levels, the latest Punch Series speakers are grouped into coaxial, convertible components, and three-way kits. The P2V2-69HO set includes two 6×9-inch woofers with coaxially mounted 3/4-inch Tetolon-dome tweeters.
The drivers are based on an injection-molded Nylon basket that’s been reinforced with glass fiber to improve rigidity. The cone is injection-molded polypropylene with mica added for damping and thermal stability. The cone shape is curvilinear to help quell resonances and enhance clarity. At the top edge is a durable Santoprene rubber surround featuring VAST 2.0 technology to increase the driver’s effective cone area. The larger cone area equates to greater efficiency compared to competing brands.
At the base of the cone is a linear Nomex spider to which the tinsel leads are sewn to keep them quiet. The voice coil is formed from Kapton to ensure the assembly can handle the as-rated 75 watts of continuous power, with peaks up to 150 watts.
The set doesn’t include grilles, but surface-mount units are available as an option with part number GS-69.
Convertible Component Tweeter
As mentioned, this is a convertible component set. This means that the tweeter can be removed from the center of the woofer and mounted separately in the vehicle. For example, if you have a late-model pickup truck, the woofer can go into the stock location in the door, and the tweeter can be installed in the dash, sail panels, or A-pillars. The set includes flush- and A-pillar mount tweeter cups.
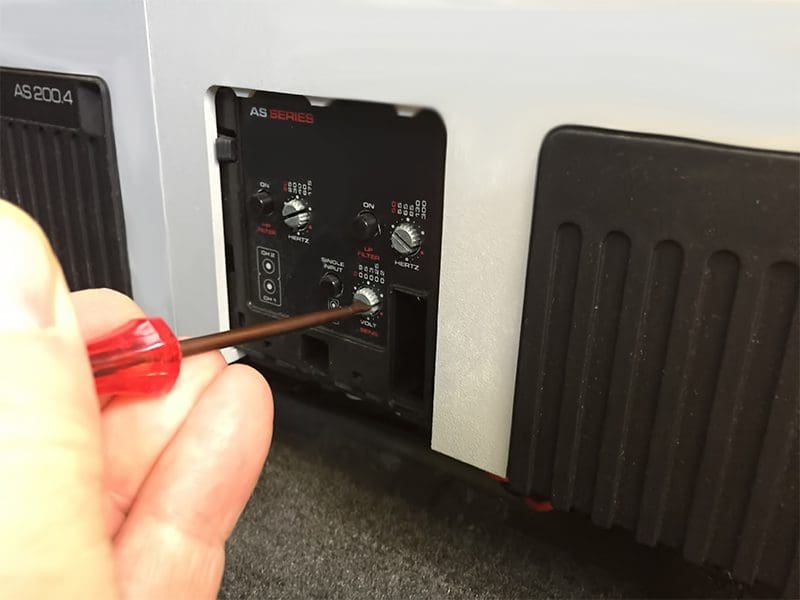
Each cup has pigtails to connect to the included passive crossover network. While we are on the topic, the external crossovers have 0 and -3 dB input connections, so your installer can choose whichever better balances the response of the audio system. When the tweeters are mounted in the woofers, a built-in capacitor acts as the filter.
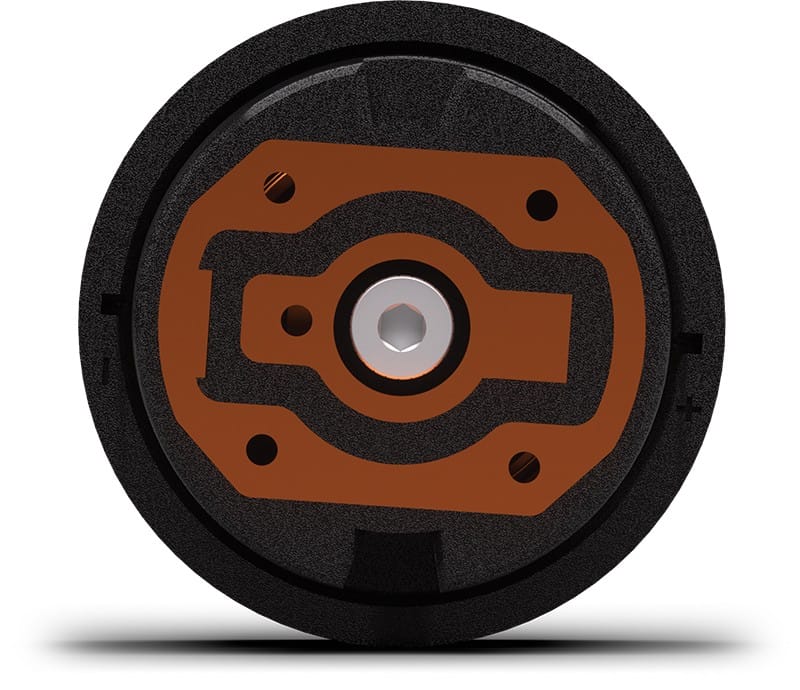
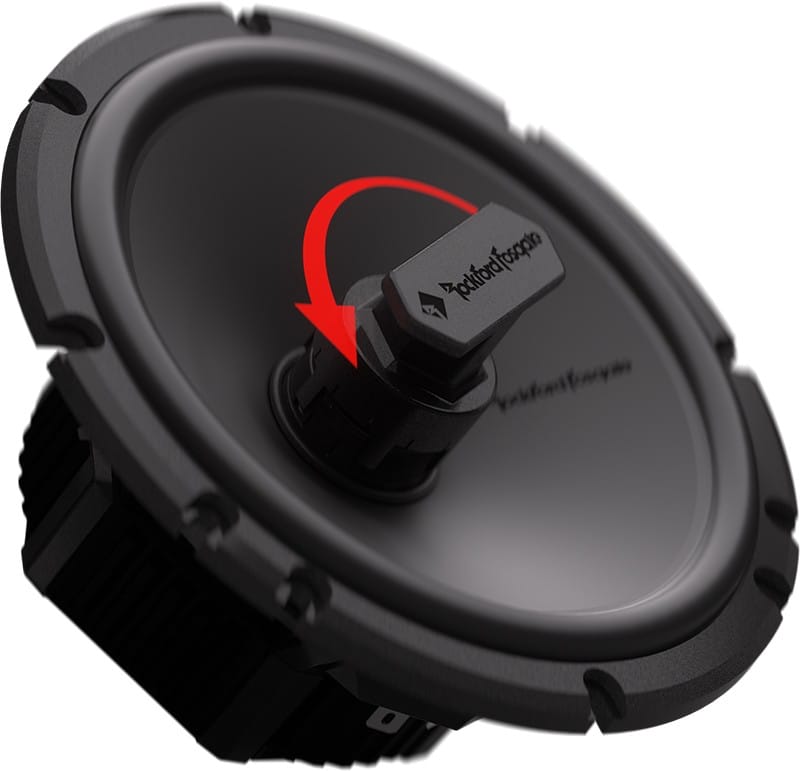
Once the tweeters have been removed, your installer can quickly and easily fit the included phase plugs thanks to the Interchangeable Locking Mechanism (ILM) design. Basically, the tweeters and plugs have a twist-and-lock design that’s executed using the provided tool.
High-Output Design
So, what does Rockford Fosgate mean when they say this is a High Output set? If you look at the specs on the website, you’ll see the P2V2-69 and P2V2-69HO have nearly identical specifications. So, what gives? The HO speakers, which are also available in 6.5- and 6×8-inch sizes, feature a two-ohm voice coil rather than the four-ohm design of the non-HO models.
Why offer two-ohm drivers? It takes power to make sound. The more power you have, the louder the system can play. Rockford Fosgate specifically created these speakers because this is what typical OEM audio systems employ. For OEM systems that use small factory amplifiers, they use lower impedance speakers to get the power needed to drive the system properly. Also, if you have a small amplifier or are using a radio to drive the speakers, the lower impedance will allow the amp to deliver more current and produce more power.
A word of advice: if your amp can deliver more than 60 or 70 watts per channel into a four-ohm load, go with the regular non-HO drivers. The extra power generated by the lower impedance of the HO solutions will exceed the speaker’s power handling rating.
Driver Dimension Optimization
Rockford Fosgate has put significant effort into designing the baskets for the P2V2-69HO and its non-HO brother. They call this their Auto Fit Architecture, and as the name implies, the mounting holes are optimized to fit as many vehicle applications as possible.
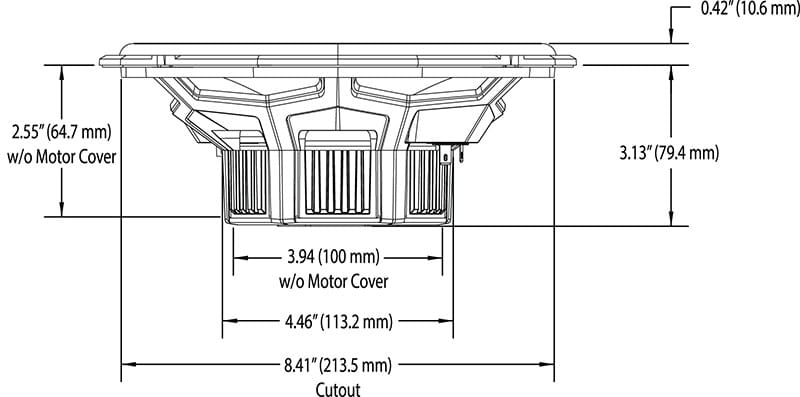
The mounting depth of the set is 3.13 inches with the magnet cover in place. If depth is an issue, the cover can be removed to shorten the speaker to 2.55 inches.
Upgrade With Rockford Fosgate Punch P2 Speakers Today!
If you are searching for a high-quality 6×9 speaker to work with a small amplifier or the amp in a radio, then drop by a local authorized Rockford Fosgate retailer today and ask for a demonstration of the new P2V2-69HO convertible speaker set. We’re sure you’ll be impressed! Speaking of impressive, all the new Punch speakers come with a 2-year warranty.
You can find a dealer near you using the Dealer Locator tool on the Rockford Fosgate website. We’ve seen lots of great new products from our friends in Tempe over the last year, and we know there is more to come. Stay up to speed with the latest releases by following them on Facebook, Instagram and, of course, YouTube.
This article is written and produced by the team at www.BestCarAudio.com. Reproduction or use of any kind is prohibited without the express written permission of 1sixty8 media.